One day I stumbled upon Attiny85 Breakout Keychain Game, I immediately browsed through parts list to find out what it was comprised of. What brougth my attention is the fact that this keychain game was based on Attiny85 microcontroller. It is the one being suggested in case if you want to shrinkify your arduino projects i.e. make simple Arduino based projects where you don’t need all capabilities of Arduino platform which is based on ATmega328P microcontroller. In case if you are not familiar - Arduino is an open-source electronics platform based on easy-to-use hardware and software. You can read more about it here - What is Arduino?
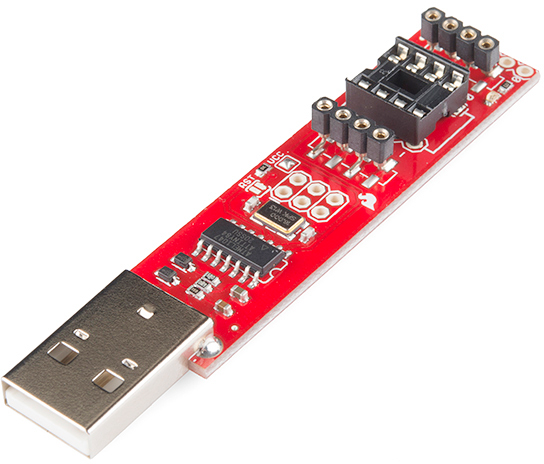
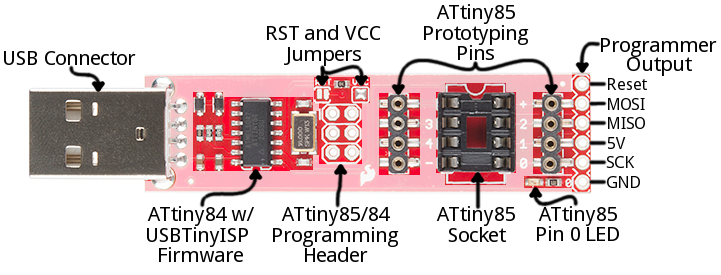
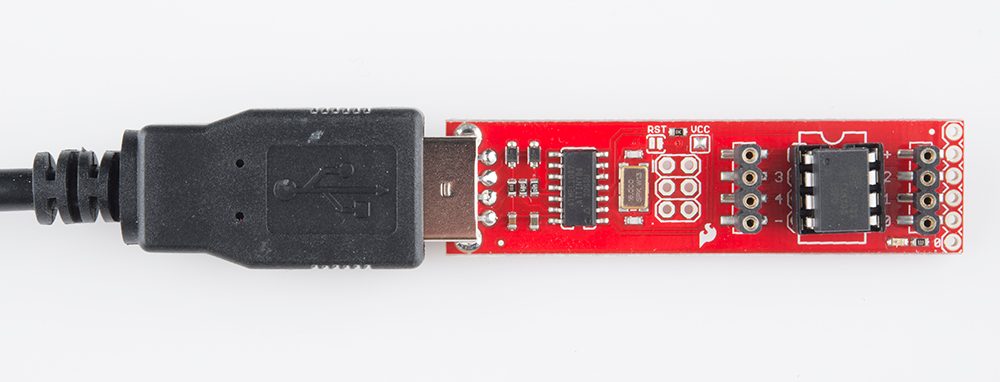
At once I got captivated by idea of making my own keychain game and decided to go with Tiny AVR Programmer from SparkFun
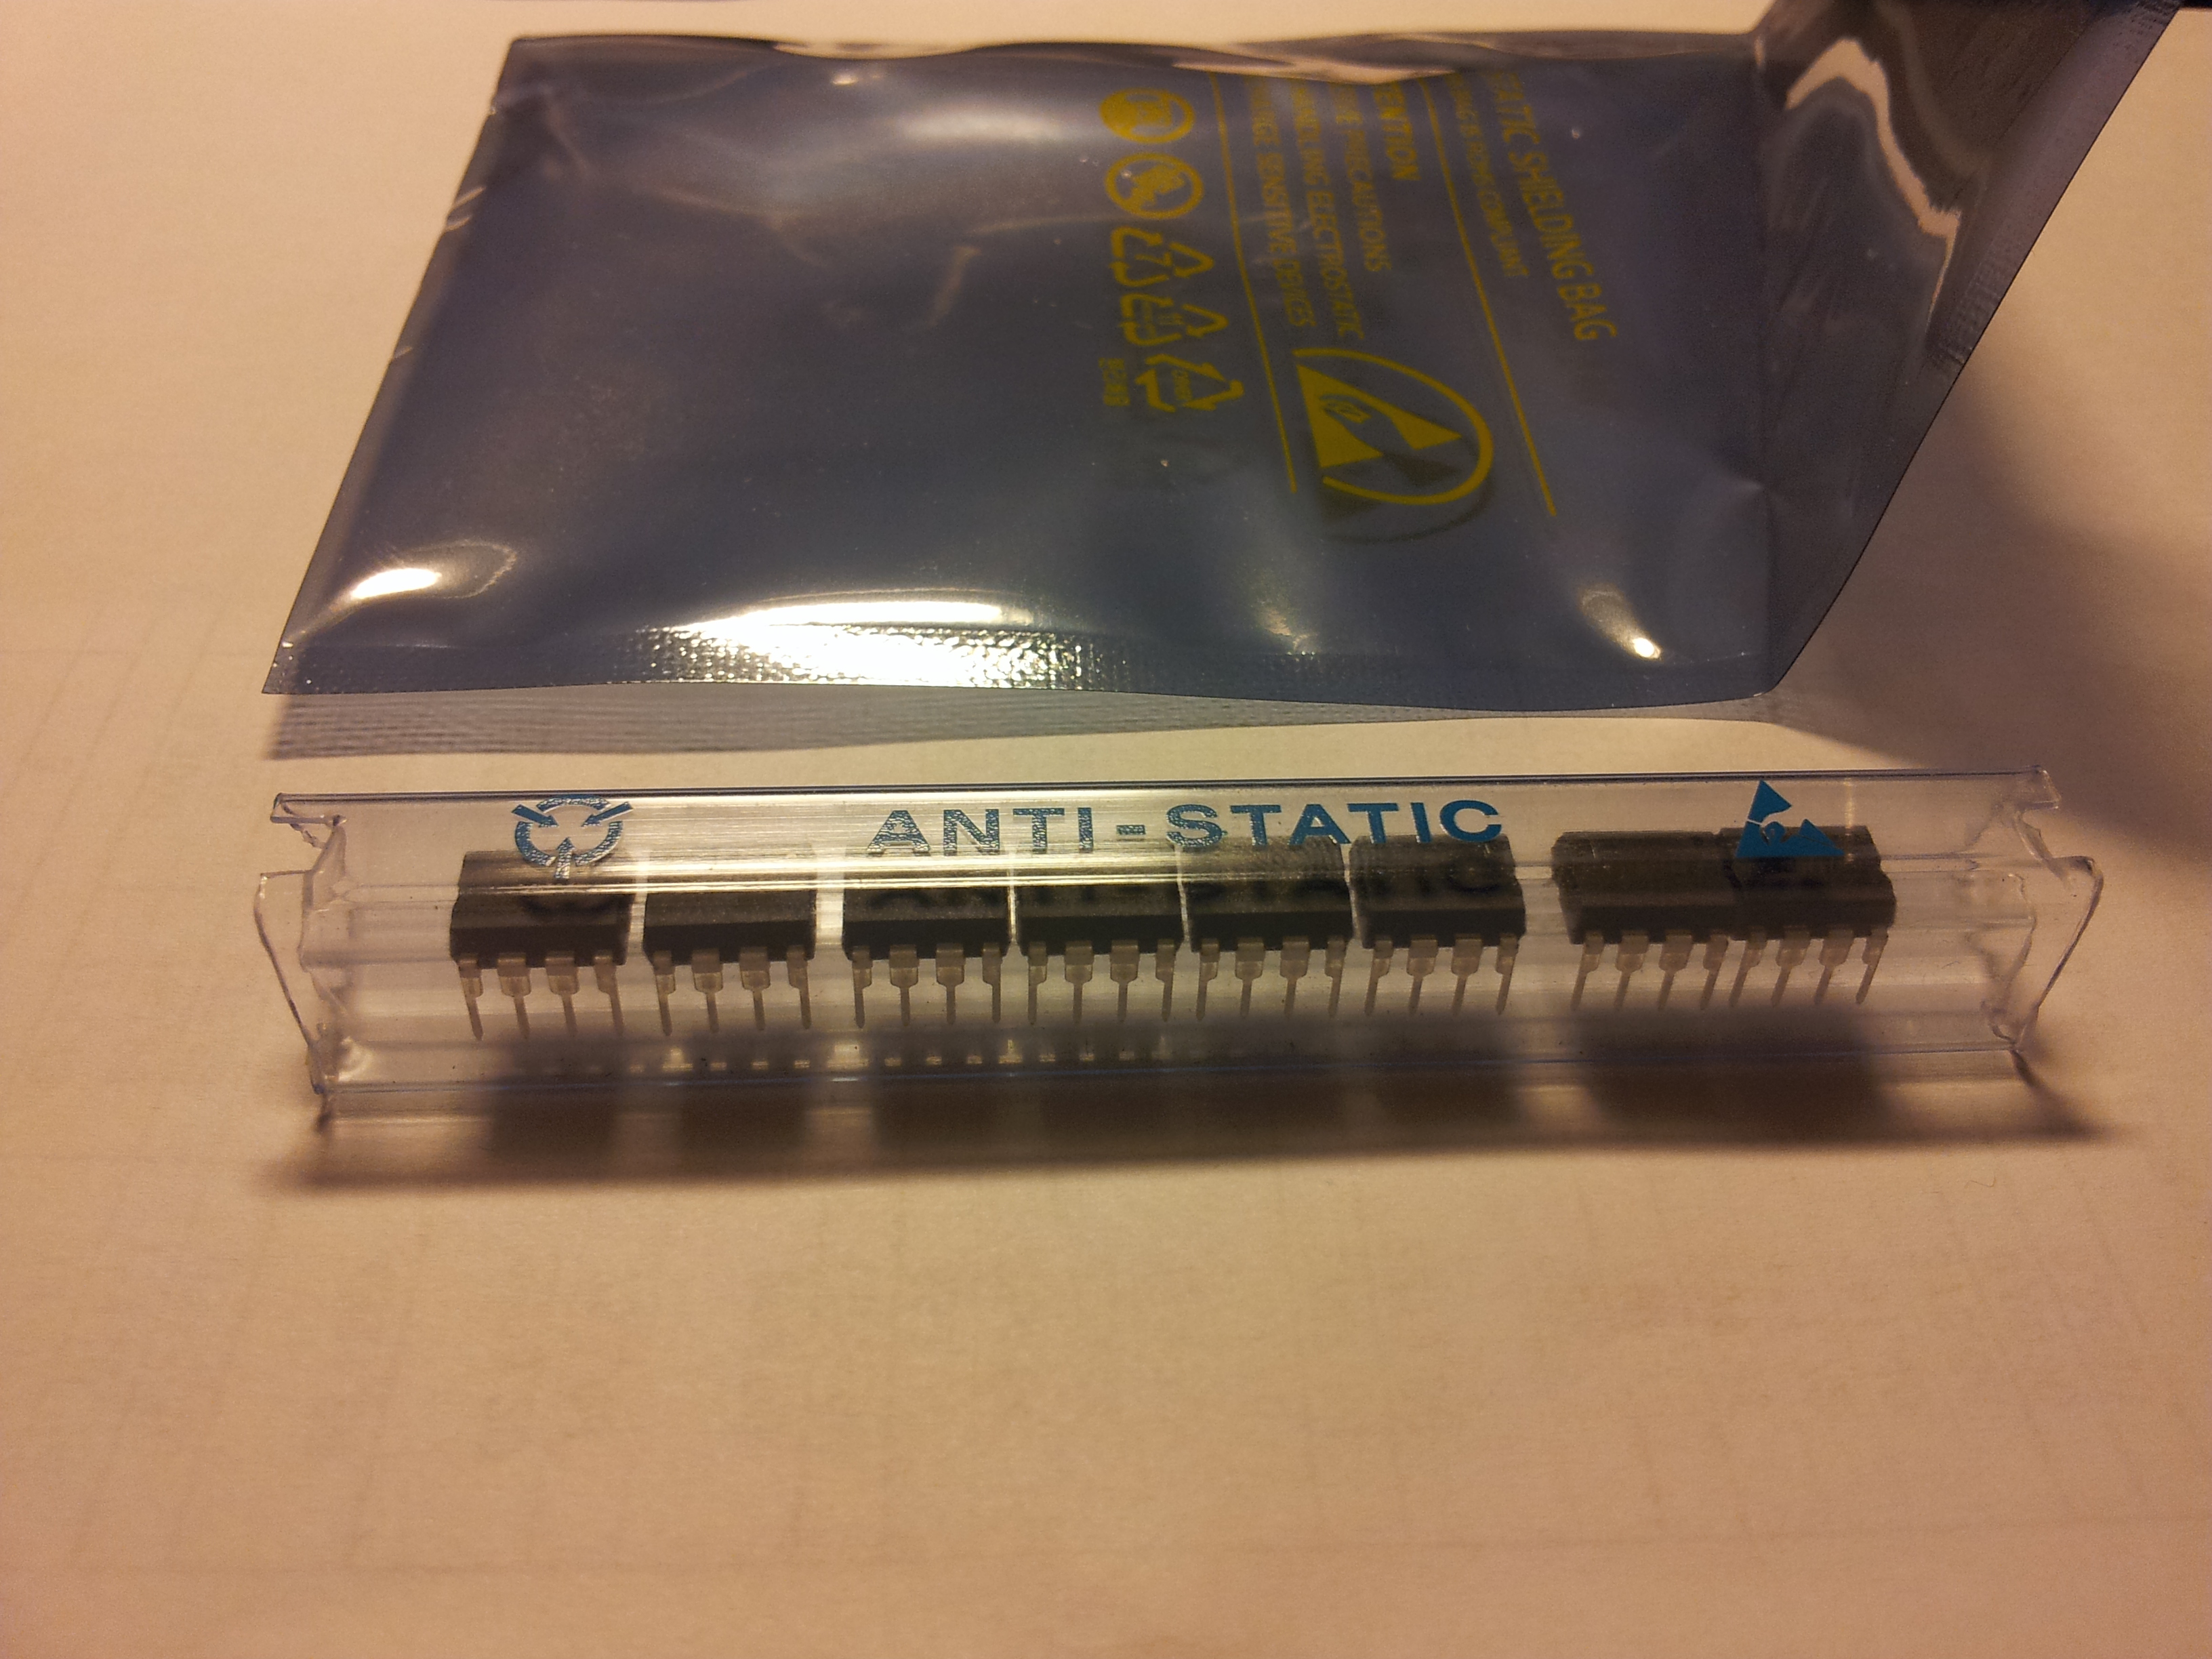
at that moment it seemed acceptable choice and I ordered batch of Attiny85s, they arrived in this anti-static tube that was put in antistatic bag.
Even before ordering anything I checked Tiny AVR Programmer Hookup Guide how to work with this device.
After receiving all parts and gathering additional items next thing for me was setting up programming environment i.e. Arduino IDE, Attiny addon for IDE. At the moment of writing this I am running customized Debian 64bit LiveCD, it means that I can skip all the driver installation steps that would be needed in case if I was setting up everything on Windows. Luckily there is 64 bit Arduino IDE version for Linux as well, latest is the version 1.6.13. Arduino IDE comes as xz compressed tape archive file, I can uncompress it just by issuing
tar xf arduino-1.6.13-linux64.tar.xz
command in terminal and in case if there is any specific location I would like to extract files to - I can add an -C option for that as well
tar xf arduino-1.6.13-linux64.tar.xz -C /home/user/
additionally Attiny addon needs to be added. One can download one of SparkFun provided files depending on your IDE version - ATtiny for Arduino 1.0.x or ATtiny for Arduino 1.6.x or take latest from a repository on GitHub
I actually put attiny addon folder under
/home/user/arduino-1.6.13/hardware/
directory and not under suggested sketchbook folder, but IDE is still able to find all the hardware definitions without issues. At least I think so.
Here I am choosing correct board

selecting ATtiny85 here

I don’t have any external clocks attached, selecting 1 MHz internal here

Afterwards I attempted to verify default sketch and got some warnings

complete log can be seen in this gist here. There is an open issue about this problem on github #4784. I actually spent some time and found out that this warning is not present in Arduino IDE version 1.6.5-r5. At this point I plugged in Tiny AVR Programmer into USB port and started uploading default sketch but got some error this time,
error in a nutshell just said
An error occurred while uploading the sketch

Arduino IDE provides compiler warning display and verbose log output during code compilation and upload.


also line number displaying and code folding is a good feature

After these preferences are enabled one can see what is going on behind the Arduino IDE scenes and how actually the source code is being processed, also now I got some more information after second upload attempt what was wrong
An error occurred while uploading the sketch

         Using Port                    : usb
         Using Programmer              : stk500v2
avrdude: usbdev_open(): did not find any USB device "usb" (0x03eb:0x2104)

avrdude done.  Thank you.
Basically what I forgot to do is to set correct programmer option in Arduino IDE.

Setting correct programmer option and attempting to upload sketch to attiny once more and I am stuck with different issue this time
         Using Port                    : usb
         Using Programmer              : usbtiny
avrdude: usbdev_open(): Found USBtinyISP, bus:device: 001:007
avrdude: Warning: cannot open USB device: Permission denied
avrdude: Error: Could not find USBtiny device (0x1781/0xc9f)

avrdude done.  Thank you.

the selected serial port
 does not exist or your board is not connected
While googling on this issue I found out that there are other people who got same problem and solution in most cases was to create udev rule
sudo rvim /etc/udev/rules.d/99-usb-tiny-asp.rules
with such contents
ATTR{idVendor}=="1781", ATTR{idProduct}=="0c9f", GROUP="dialout", MODE="0666"
but first one needs to add normal user to dialout group
sudo usermod -a -G dialout user
issuing groups at this moment shows that group setup is not in force yet
user@debian:~$ groups
user cdrom floppy audio dip video plugdev netdev bluetooth
user@debian:~$
then I logged out of desktop environment ( xfce ) and typed
exit
in terminal, then logged in again and started xfce with
startx
issued groups in terminal emulator
user@debian:~$ groups
user dialout cdrom floppy audio dip video plugdev netdev bluetooth
user@debian:~$
and reloaded udev rules
user@debian:~$
user@debian:~$ sudo service udev restart
user@debian:~$
Now it is adviceable to unplug avr programmer and plug it in again, I reuploaded sketch to attiny that resulted in success
avrdude: Using SCK period of 10 usec
avrdude: AVR device initialized and ready to accept instructions

Reading | ################################################## | 100% 0.00s

avrdude: Device signature = 0x1e930b (probably t85)
avrdude: NOTE: "flash" memory has been specified, an erase cycle will be performed
         To disable this feature, specify the -D option.
avrdude: erasing chip
avrdude: Using SCK period of 10 usec
avrdude: reading input file "/tmp/arduino_build_726460/sketch_dec12a.ino.hex"
avrdude: writing flash (274 bytes):

Writing | ################################################## | 100% 0.52s

avrdude: 274 bytes of flash written
avrdude: verifying flash memory against /tmp/arduino_build_726460/sketch_dec12a.ino.hex:
avrdude: load data flash data from input file /tmp/arduino_build_726460/sketch_dec12a.ino.hex:
avrdude: input file /tmp/arduino_build_726460/sketch_dec12a.ino.hex contains 274 bytes
avrdude: reading on-chip flash data:

Reading | ################################################## | 100% 0.46s

avrdude: verifying ...
avrdude: 274 bytes of flash verified

avrdude done.  Thank you.
At this moment I wanted to upload most basic sketch, but it at least does something i.e. blinks a led on tiny avr programmer, there is already one available from arduino tutorial section - Blink Without Delay - here I changed one detail, ledPin constant must be redefined to 0
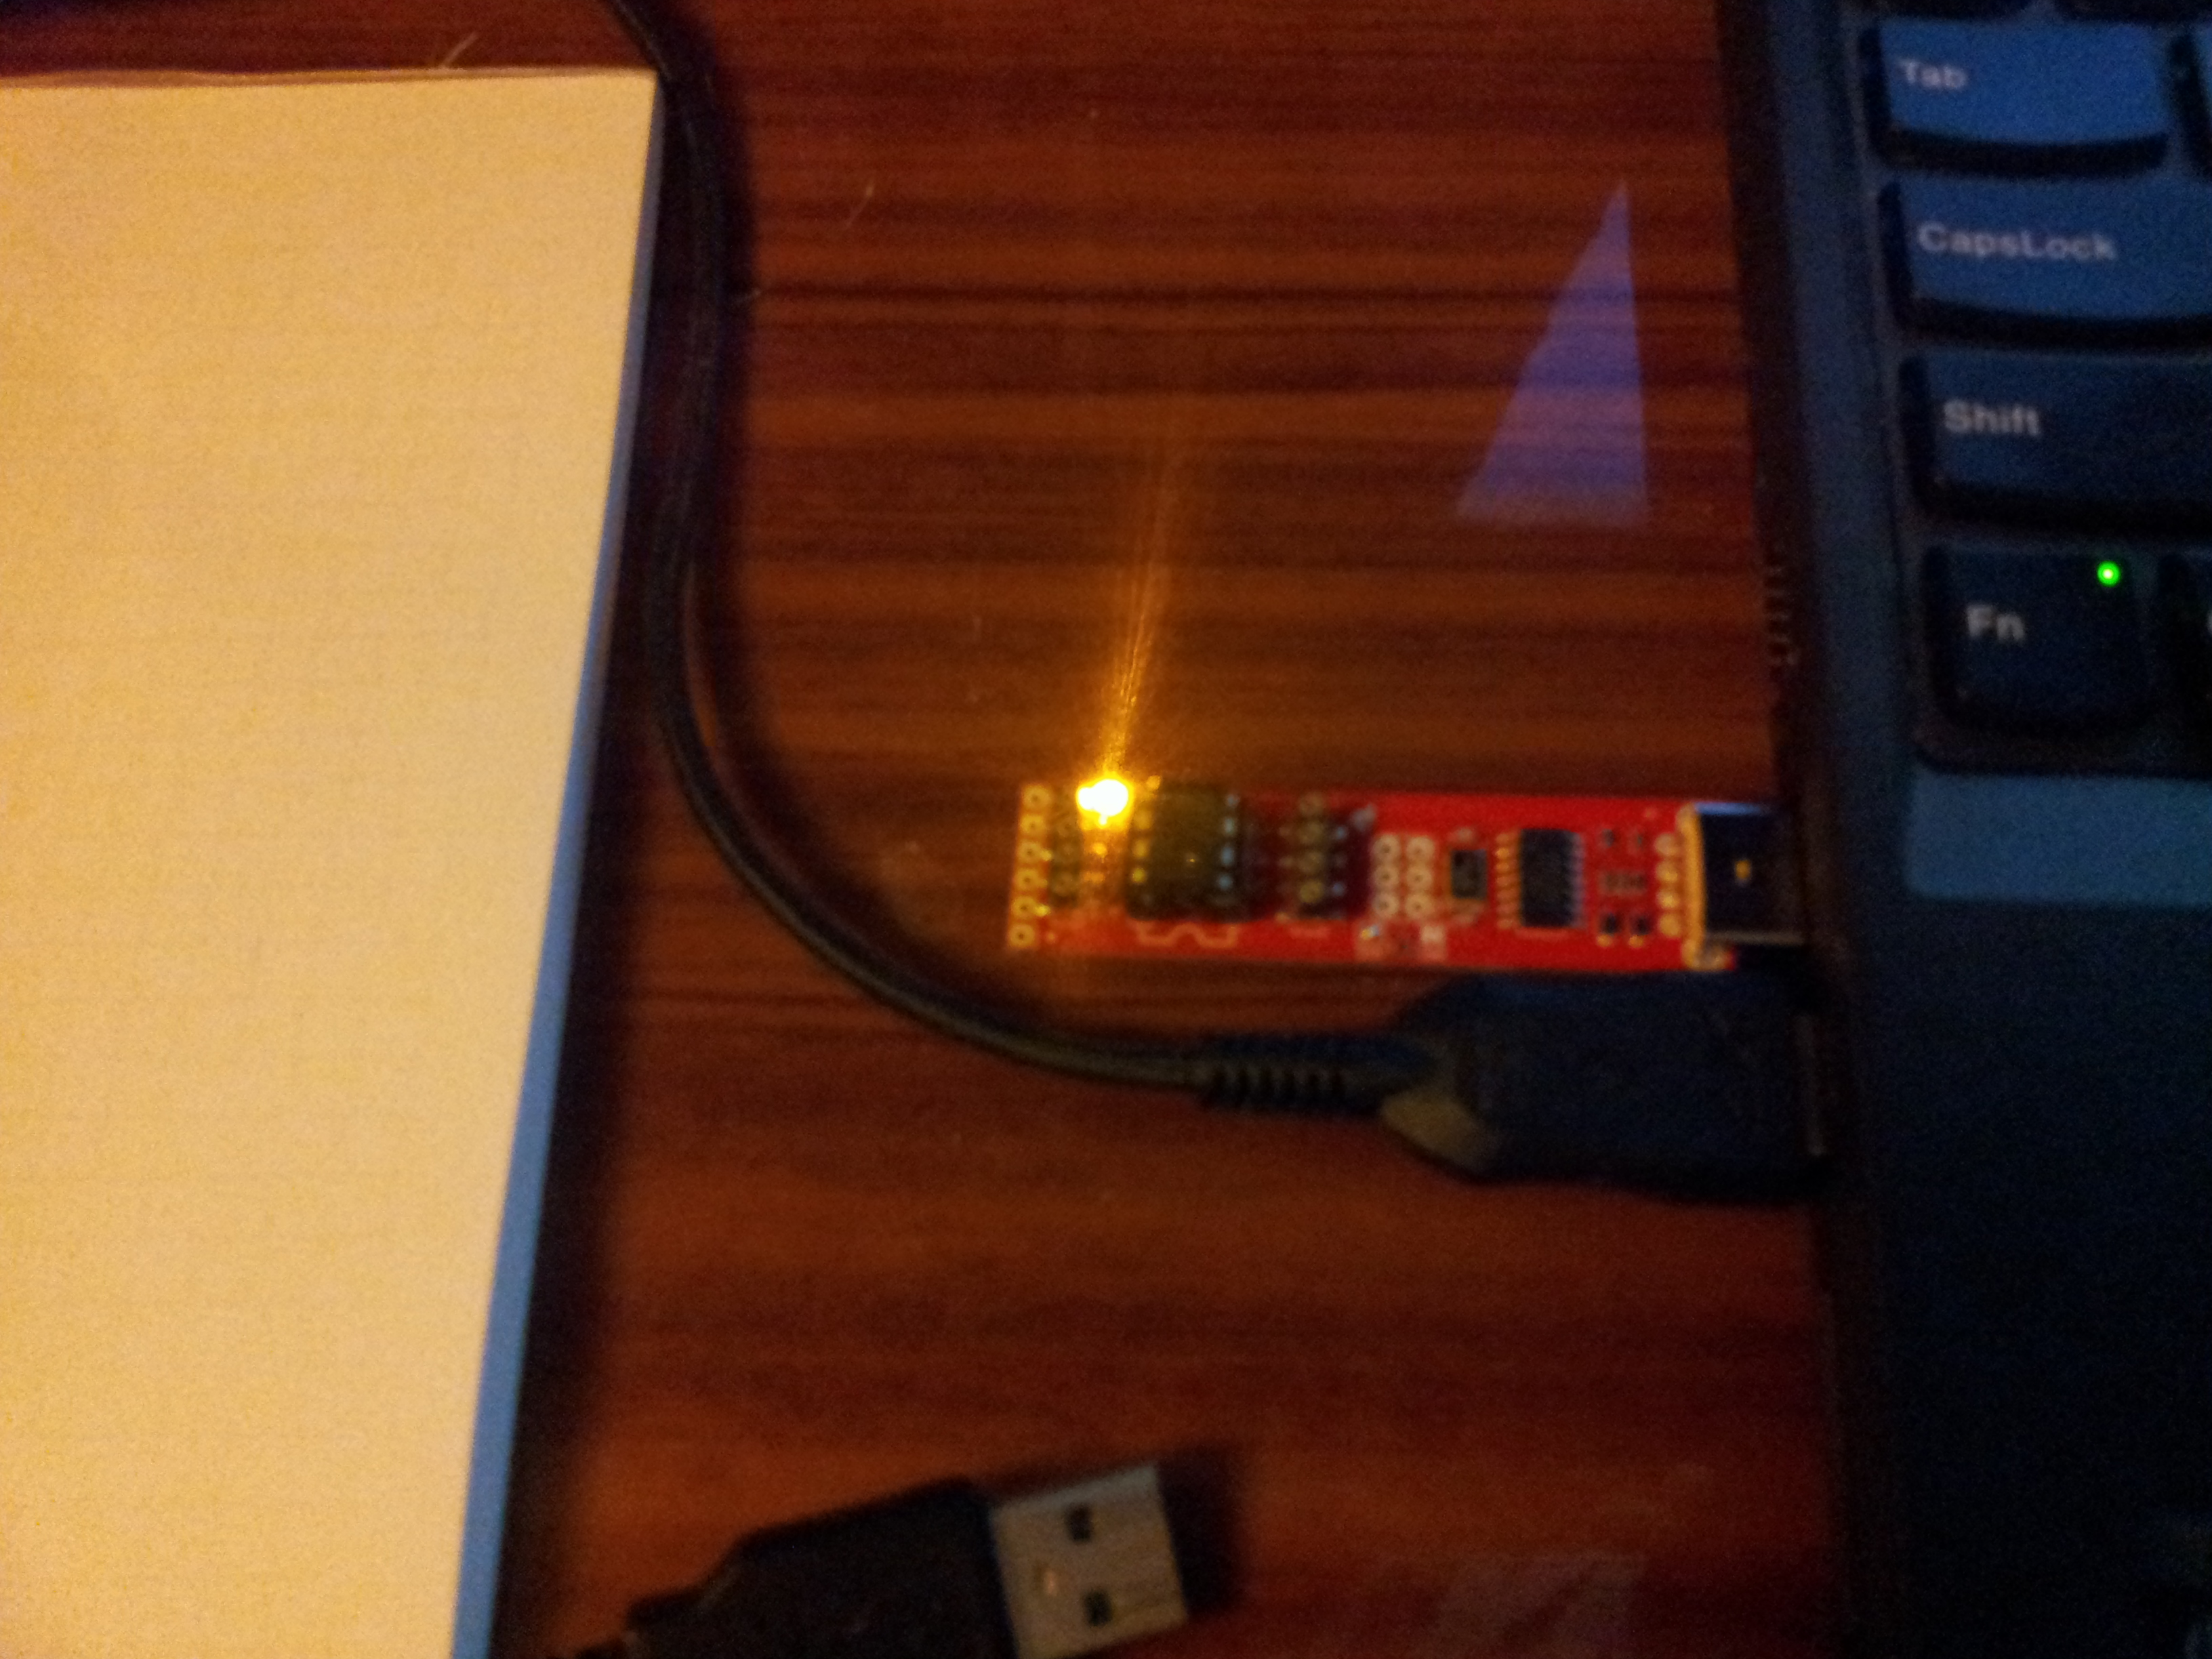 So much for a blinking led huh.
In the end Attiny85 is small and limited, those who have worked before with it probably have encountered a fundamental problem of not having enough I/O pins, but it is still amazing what you can do with it where the limit is your imagination.
Rerefences:
[1]Tiny AVR Programmer Hookup Guide
[2]Flashing bootloaders on an ATMega328 with the internal clock enabled
[3]What is the correct way to restart udev?
